If you have just installed Loan Performer and want to start using it without detailed reading, then follow these basic instructions. If you need help on any of the screens, just press F1 and you will see the corresponding Help topic.
1. Starting
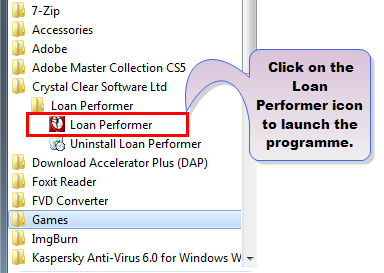
To start Loan Performer application go to the Windows Start menu, find Loan Performer on the list of programs and click on Loan Performer
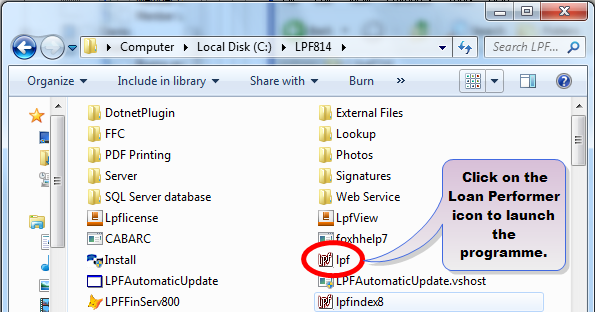
or use Windows Explorer to open Loan Performer folder and click on the lpf file.
1. Login in
To log into Loan Performer for the first time you should use "Performer" as User Name and "Lpf" as Password. Read more on Loan Performer users in the topics under System Administration-> Users.
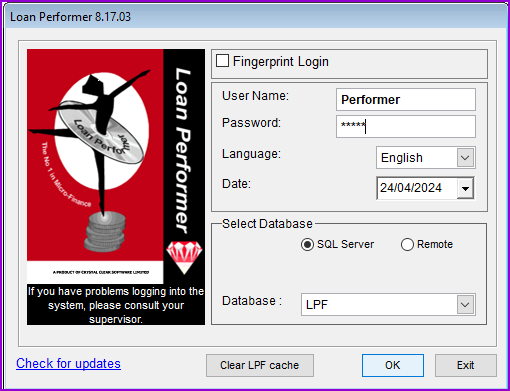
Most of the Performer's login information appears on the screen by default. Unless you want to change something, enter "Lpf" as a password and press the OK button.
1.Changing the Language
If you are not an English user, you may change the language to Spanish, French or Russian. Go to the menu System->Configuration->Users->Edit Users and select the user, e.g., "Performer".. from the User Name drop down list.
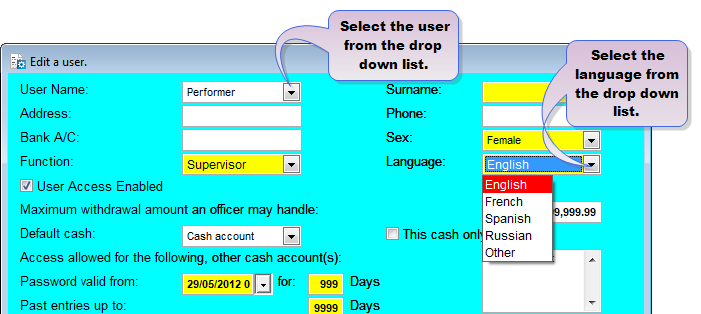
Select user the user from the User Name drop-down list, e.g., "Performer". All fields will be updated with the information regarding this user.
Select the Language that you want to change to from the Languagedrop down list, e.g., "French" and click on the Savebutton. You will be asked to update the Local Lookup folderand if you click Yes, then all the Loan Performer screens, menus, messages, reports and help topics will then appear in the selected language.
2. Setting a date for the Start of the Financial Year.
If you intend to use Loan Performer to do the book-keeping for you, then go to the menu System->Configuration->Accounting and enter a date for the Start of Financial Year.

3. Create an account for the Loan Revolving Fund.
Create an account for the loan revolving fund from the menu Accounts->Chart of Accounts.
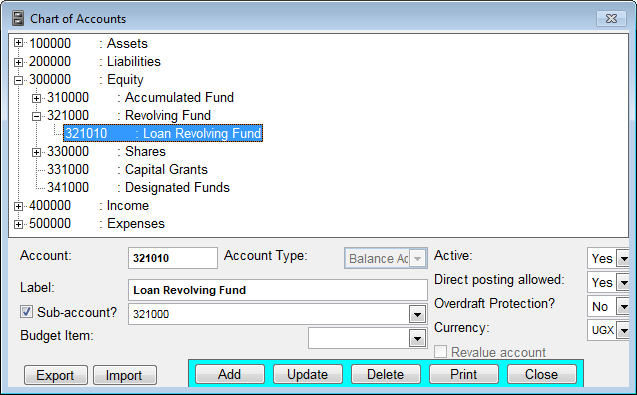
For example, let the Loan Revolving Fund, e.g., "321010" can be entered under the Revolving Fund,e.g., "321000".
4. Enter a Loan Fund
The next thing you have to do is to enter a Loan Fund. Go to the menu System->Configuration->Funds and enter the Name of the Fund and the Donor's Name (or your organization’s name).
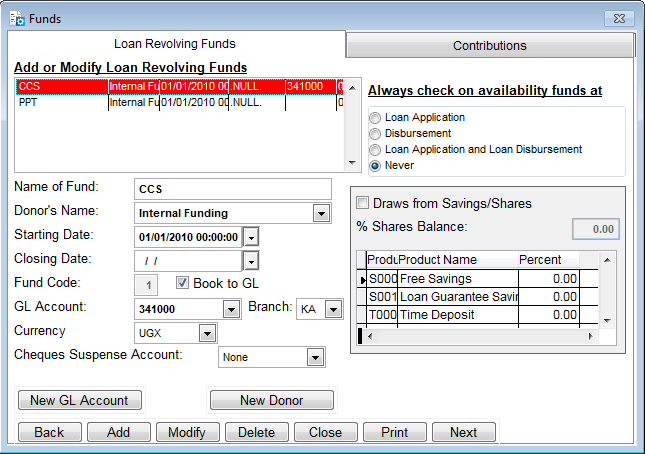
The Starting Date has to be the date prior to any disbursement made from this fund. You can leave the Closing Date open. The Fund Code is assigned to the fund automatically when you save the loan fund.
There is a checkbox Book to GL, which is activated by default. For some organizations, notably credit unions, there is no Loan Revolving Fund as such. Loans are disbursed from collective savings or shares. In such a case the checkbox can be de-activated so that no bookings are made when a deposit/withdrawal to/from the fund is done.
If the Book to GL option is activated, you will have to choose the account that you created under step 3 above from the drop-down box next to the GL Account.
Under Always check on availability of funds at mark the option Never. In this case Loan Performer will never check on the availability of funds and you don’t need to enter Contributions to the fund.
To save the loan fund, click on the Add button. You will get the message regarding the assignment of the code to the new fund. Just click OK and the fund will be added to the list of funds.
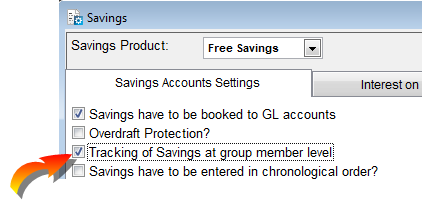
5. Group Member Tracking
If you work with group loans and/or savings, you need to know that Loan Performer can track savings and loans both at group level and at group member level. In case you want to track loans/savings on group member level, you should activate the respective options at the menu System->Configuration->Loans Part 1 ("Group loans tracking at group member level")

and/or System->Configuration->Savings ("Tracking of savings at group member level").
Now you can start entering, first, your Clients, and then Loan Applications.
The Nº 1 Software for Microfinance